Crème brûlée is one of my all-time favorites. Simple and classic. My sister-in-law likes it even more than I do, and one of us can be counted on to order crème brûlée at any of our restaurant outings. But why limit yourself to restaurants? Can you make it at home?
Wait. You’re confused. You’re wondering, am I in the right place? Is this Jen’s SlimmerKitchen blog? Doesn’t she do Mediterranean recipes? Those healthy recipes from The Slimmer Book? Did I mistakenly get redirected to her French_Desserts_Requiring_A_Blowtorch.com blog? Or her I_Can’t_Fit_In_My_Favorite_Jeans_Anymore.com blog?
No, you’re in the right place! For this post, I’ve made versions with full cream and lightened-up versions with greek yogurt swapped out for cream – they are all yummy. Even at its heavywhippingcreamiest goodness, one serving of crème brûlée is still less than 400 calories. I’ve made about 30 of them in the past few days and I can confirm that crème brûlée also makes for an excellent, protein-packed breakfast!
And if you’re following along on The Slimmer Book, remember that about every 1 of 5 days is a free day, and you can have your crème brûlée then.
For our 50 shades of crème brûlée, we’ll start with a classic crème brûlée, move to few lightened-up versions made with greek yogurt, then throw in some yummy variations like S’mores crème brûlée, Chocolate Orange crème brûlée, and Green Tea crème brûlée. Click here for the full list of 50 variations.
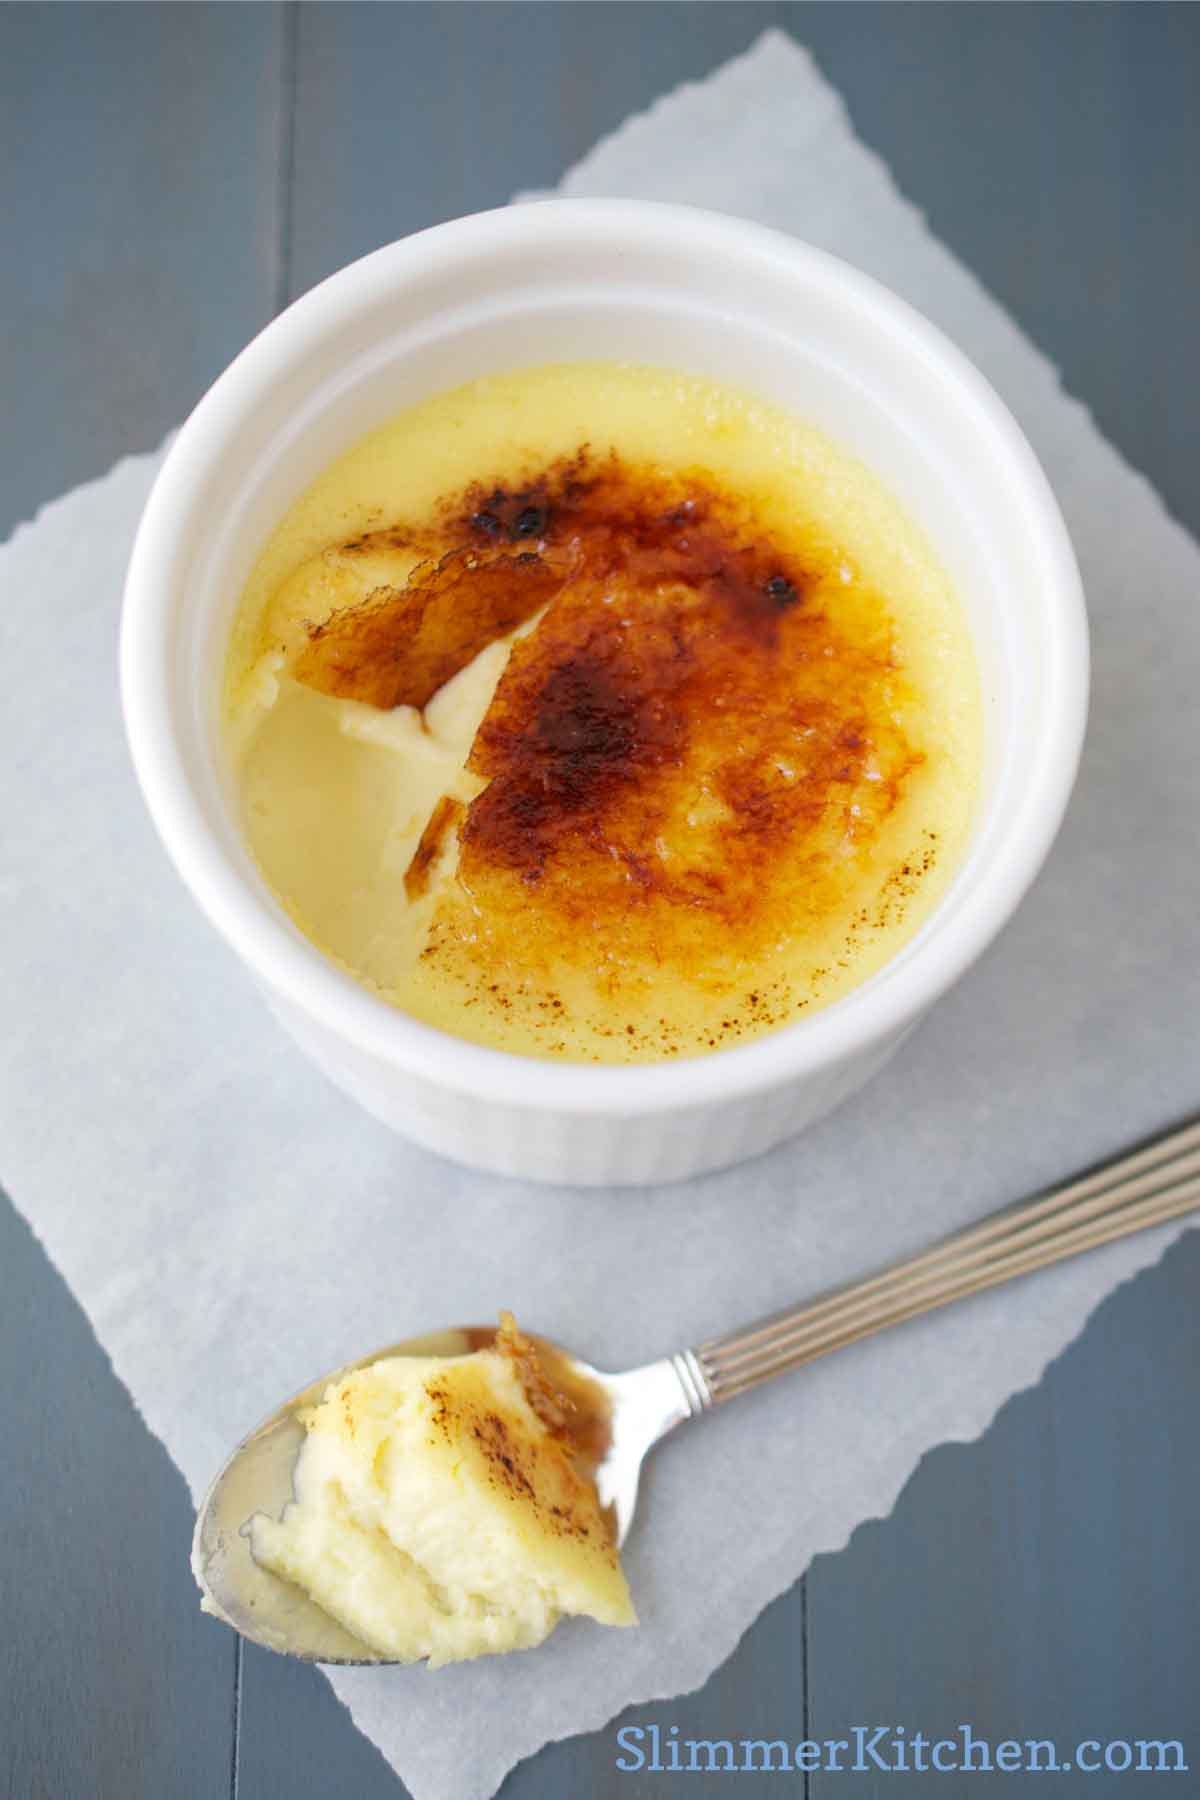
What should they all have in common? A proper crème brûlée has a thin and crackly caramelized sugar layer on top, which should make a lovely crunchy noise when your spoon breaks through. Underneath is a chilled, soft, silky-smooth custard. Sound intimidating?
 Well, it looks intimidating. But once you try it, and know a few important secrets, this is a very easy dessert. Seriously. A classic crème brûlée has only four ingredients and you probably have most of them in your pantry and refrigerator right now. And it is fast. Faster than making and frosting a cake. And especially faster than driving to Publix to pick out a cake with a 6-year old that wants to look through all the designs. Below are four easy tutorials so you can learn these important secrets to making a great crème brûlée.
Important Secrets to a Great Crème Brûlée – 4 Easy Tutorials
Crème Brûlée Tutorial #1: How do I make the crème brûlée smooth and not lumpy?
Crème Brûlée Tutorial #2: Use a bain-marie (water bath) for a great crème brûlée
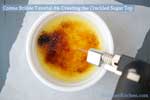
Crème Brûlée Tutorial #4: How do I create the caramelized crust? Kitchen Torch or Broiler?
So check out the tutorials first, above, or just jump right in with the classic crème brûlée recipe below. Note that all of the information in the tutorials is incorporated in the recipe below.
Classic Crème Brûlée
Serves 4 (easily doubles or triples for a crowd)
2 cups heavy cream (divided)
½ cup granulated sugar
6 egg yolks (or 3 – click here for the 3-egg yolk variation)
1 tsp vanilla extract (or beans from one vanilla bean)
Pinch of salt
4 tsp granulated sugar (for the topping)
Prepare the Pan
- Preheat oven to 300 degrees Farenheit. Adjust the oven rack to the middle position and remove racks above it if necessary.
- Fill a large teakettle or pasta pot with water and put it on the stove to boil. You will use this soon for cooking the crème brûlée in a water bath (bain marie).
- Using a pan with high sides (like a roasting pan), cover the bottom with a dish towel. This prevents the ramekins from sloshing about in the water bath when you remove the pan from the oven.
Prepare the Crème Brûlée Mixture
The challenge here is that you need heat to dissolve the sugar (and vanilla bean) into the cream. However, if you add hot cream to egg, it will scramble! So we’re going to heat half the cream with the sugar and vanilla bean, then cool this mixture down before adding it to the egg yolks. Then we’ll strain the entire mixture to remove any solids that have formed.
- Put 1 cup of heavy cream in a small (2 quart) saucepan. Add the sugar. If you are using real vanilla beans, scrape the beans out of the pod and add both the beans and the pod to the cream now. (If you are using vanilla extract you will add the extract later). The heat will dissolve the sugar and bring the flavor out of the vanilla. Heat until the sugar is dissolved, maybe about 5 minutes. (Note that many recipes call to boil the cream/sugar mixture, but I didn’t see why it need boiling and didn’t do this, and it was terrific.) Remove from stovetop and place mixture in refrigerator for about 15 minutes. Remember we are cooling it down so we don’t add hot liquid to the eggs.
- Once the first mixture is in the refrigerator, add the 2nd cup of cream to the egg yolks and stir with a whisk until combined. Don’t overstir- you don’t want it to be too frothy. If you are using vanilla extract, add that now.
- Combine the two mixtures slowly, with a whisk.
- Pour the mixture through a fine mesh strainer to remove any solids. Discard solids. Place the mixture in a pitcher, or something that pours easily.
Bake
We are using a bain marie (water bath) to cook our crème brûlées. Click here for more information about using a bain marie for a great crème brûlée.
- Put the ramekins in the pan. Fill each ramekin about half to two-thirds full with the crème brûlée mixture, distributing the mixture evenly among the ramekins.
- Slowly add the water to the pan, filling about 2/3 up the side of the crème brûlée ramekins, or about to the level of the mixture inside. Note that you can add the water first, then the ramekins, however, it is tough to gauge how high to fill the pan unless the ramekins are in the pan first. Make sure not to slosh water in the ramekins. If you do get some water on them, just blot them with a paper towel. Using a teakettle with a spout will make it easier.
- Bake until the center of the custard is just set, about 35 minutes. A perfectly cooked crème brûlée at this point will look wiggly (but not liquid) in the center. The middle should be loose and moveable. Your crème brûlées will continue to cook once you take them out of the oven. You don’t want them too firm now, or they will be overcooked later.
- When done, remove the pan from the oven and take the ramekins out of the pan by using tongs. Place them on a wire rack so they can cool evenly. Don’t leave them in the water bath or they’ll continue to cook.
- After they’ve cooled down a bit, place the ramekins in the refrigerator for an hour or even overnight.
Caramelize the Sugar Top
Up to an hour or two prior to serving, remove ramekins from the refrigerator. If there is moisture on the top of the custard, blot it with a paper towel.
I tried this recipe with four types of sugars, including granulated white sugar, brown sugar, demerara sugar and turbinado sugar. I far preferred white granulated sugar. Click here for the reviews of each type of sugar.
Sprinkle the top of each crème brûlée with the granulated sugar. Use about 1 teaspoon of sugar per ramekin. Shake the ramekin gently to distribute the sugar. Turn the ramekin over and dump out excess sugar if necessary.
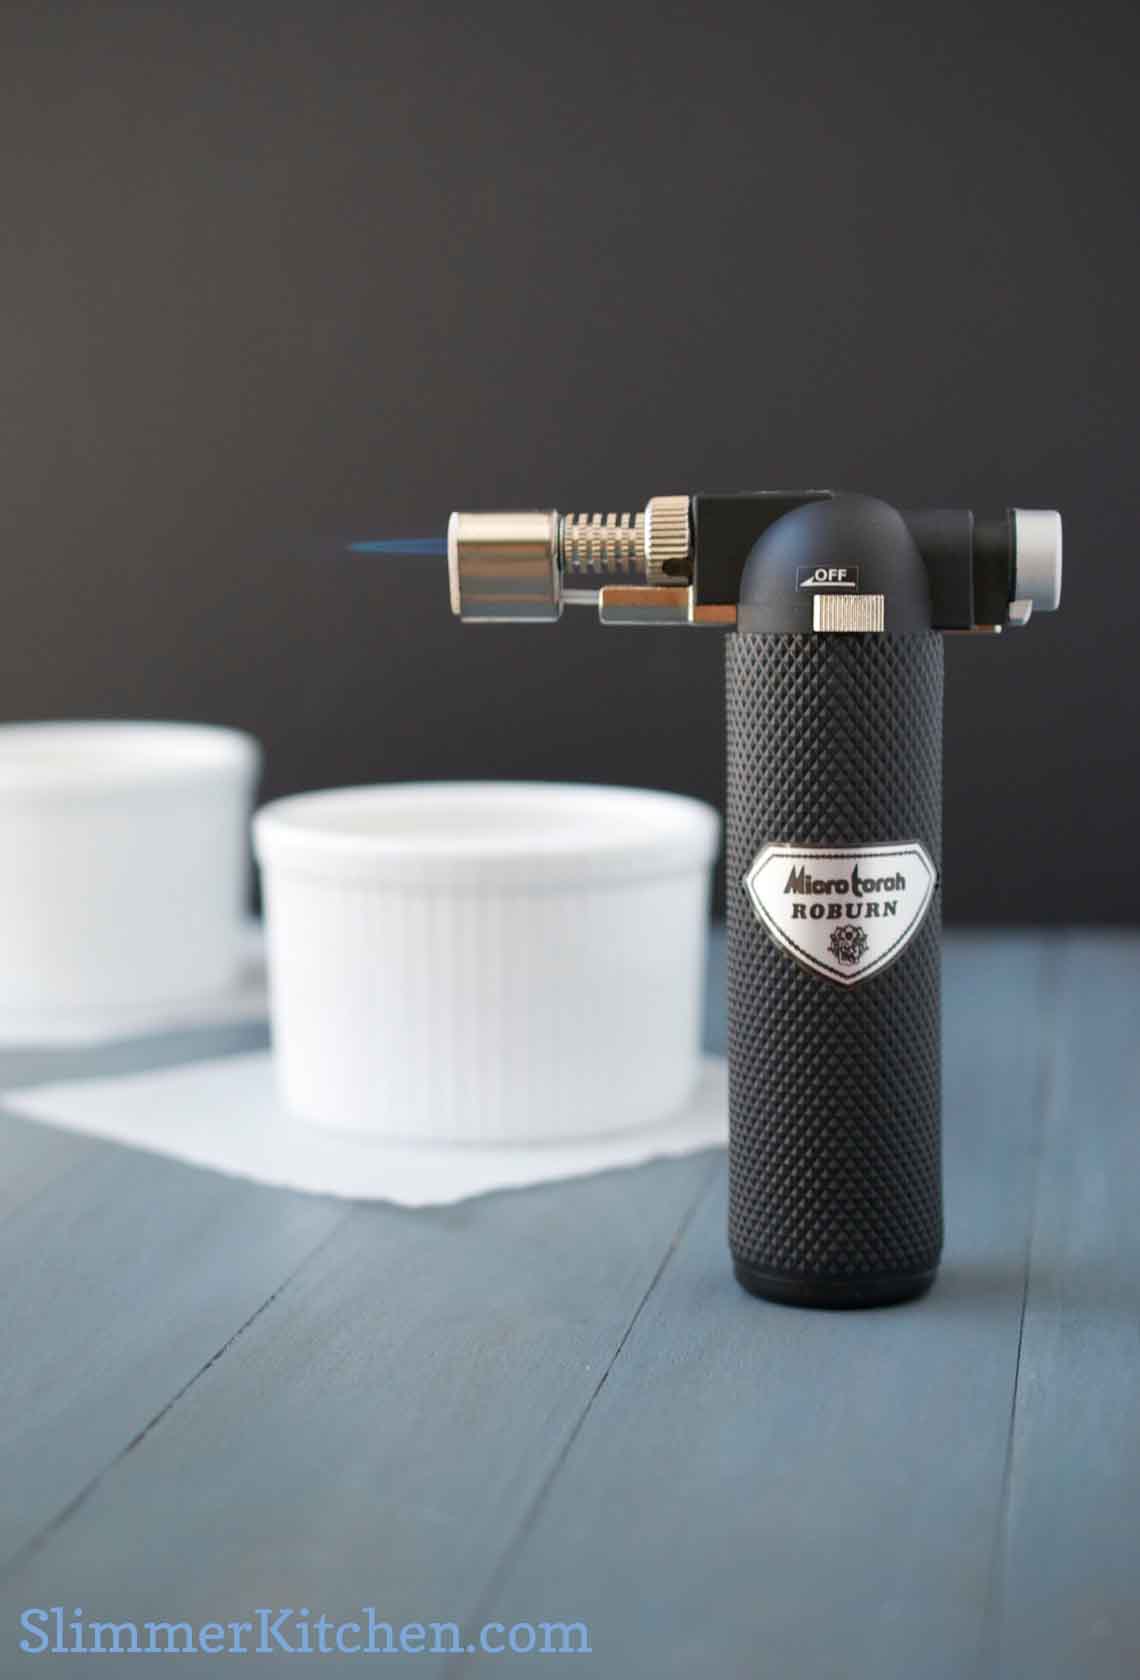
I tried several approaches for the crust, and the best way to get a nice crackly caramelized sugar crust is to use a kitchen torch. Use your kitchen torch to evenly heat the top. Use the tip of the blue flame, and move the torch evenly about. At first the sugar will melt and bubble, then it will brown. A few small burned spots are fine.
To really make the crust terrific, wait until the first sugared layer cools then add a second layer.
Click here for the full list of 50 variations.
Like this post? Great!
- Follow this blog by subscribing (just enter your email address in the sidebar on the right – I post about once a week)
- Share! Share it on Facebook or Pin it on Pinterest with the buttons below.
- Comment and let me know what you think!

