Fifty Shades of Crème Brûlée

Crème Brûlée

Crème brûlée is one of my all-time favorites. Simple and classic. My sister-in-law likes it even more than I do, and one of us can be counted on to order crème brûlée at any of our restaurant outings. But why limit yourself to restaurants? Can you make it at home?

Crème Brûlée

Wait. You’re confused. You’re wondering, am I in the right place? Is this Jen’s SlimmerKitchen blog? Doesn’t she do Mediterranean recipes? Those healthy recipes from The Slimmer Book? Did I mistakenly get redirected to her French_Desserts_Requiring_A_Blowtorch.com blog? Or her I_Can’t_Fit_In_My_Favorite_Jeans_Anymore.com blog?

No, you’re in the right place! For this post, I’ve made versions with full cream and lightened-up versions with greek yogurt swapped out for cream – they are all yummy. Even at its heavywhippingcreamiest goodness, one serving of crème brûlée is still less than 400 calories. I’ve made about 30 of them in the past few days and I can confirm that crème brûlée also makes for an excellent, protein-packed breakfast!

And if you’re following along on The Slimmer Book, remember that about every 1 of 5 days is a free day, and you can have your crème brûlée then.

For our 50 shades of crème brûlée, we’ll start with a classic crème brûlée, move to few lightened-up versions made with greek yogurt, then throw in some yummy variations like S’mores crème brûlée, Chocolate Orange crème brûlée, and Green Tea crème brûlée.  Click here for the full list of 50 variations. 

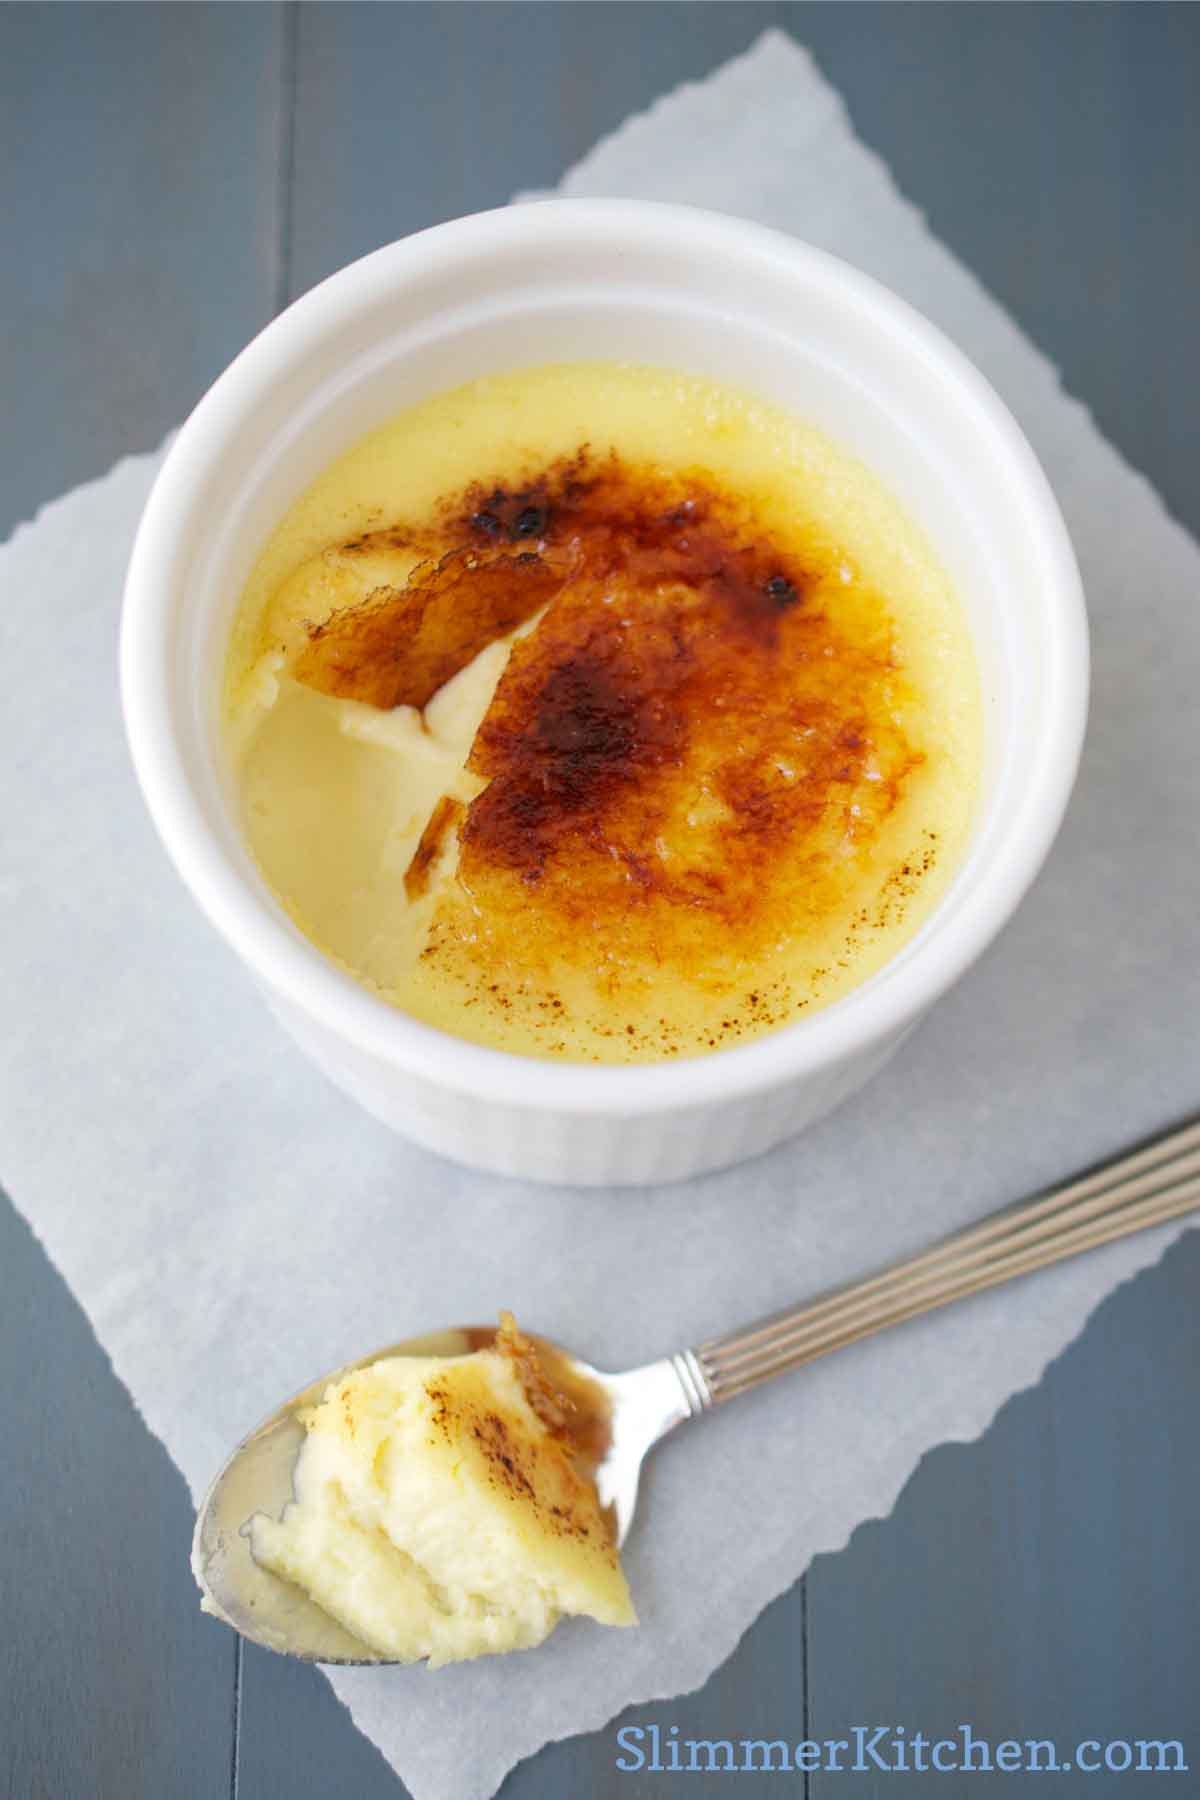
What should they all have in common? A proper crème brûlée has a thin and crackly caramelized sugar layer on top, which should make a lovely crunchy noise when your spoon breaks through. Underneath is a chilled, soft, silky-smooth custard. Sound intimidating?
Well, it looks intimidating. But once you try it, and know a few important secrets, this is a very easy dessert. Seriously. A classic crème brûlée has only four ingredients and you probably have most of them in your pantry and refrigerator right now. And it is fast. Faster than making and frosting a cake. And especially faster than driving to Publix to pick out a cake with a 6-year old that wants to look through all the designs. Below are four easy tutorials so you can learn these important secrets to making a great crème brûlée.

Important Secrets to a Great Crème Brûlée – 4 Easy Tutorials


Crème Brûlée Tutorial #1: How do I make the crème brûlée smooth and not lumpy?


Crème Brûlée Tutorial #2: Use a bain-marie (water bath) for a great crème brûlée


Crème Brûlée Tutorial #3: What kind of sugar do I use for the caramelized crust? Granulated, Turbinado, Demerara, Brown?


Crème Brûlée Tutorial #4: How do I create the caramelized crust? Kitchen Torch or Broiler?


So check out the tutorials first, above, or just jump right in with the classic crème brûlée recipe below. Note that all of the information in the tutorials is incorporated in the recipe below.

Classic Crème Brûlée
Serves 4 (easily doubles or triples for a crowd)

2 cups heavy cream (divided)
½ cup granulated sugar
6 egg yolks (or 3 – click here for the 3-egg yolk variation)
1 tsp vanilla extract (or beans from one vanilla bean)
Pinch of salt
4 tsp granulated sugar (for the topping)

Prepare the Pan

  1. Preheat oven to 300 degrees Farenheit. Adjust the oven rack to the middle position and remove racks above it if necessary.
  2. Fill a large teakettle or pasta pot with water and put it on the stove to boil. You will use this soon for cooking the crème brûlée in a water bath (bain marie).
  3. Using a pan with high sides (like a roasting pan), cover the bottom with a dish towel. This prevents the ramekins from sloshing about in the water bath when you remove the pan from the oven.

Prepare the Crème Brûlée Mixture

The challenge here is that you need heat to dissolve the sugar (and vanilla bean) into the cream. However, if you add hot cream to egg, it will scramble! So we’re going to heat half the cream with the sugar and vanilla bean, then cool this mixture down before adding it to the egg yolks. Then we’ll strain the entire mixture to remove any solids that have formed.

  1. Put 1 cup of heavy cream in a small (2 quart) saucepan. Add the sugar. If you are using real vanilla beans, scrape the beans out of the pod and add both the beans and the pod to the cream now. (If you are using vanilla extract you will add the extract later). The heat will dissolve the sugar and bring the flavor out of the vanilla. Heat until the sugar is dissolved, maybe about 5 minutes. (Note that many recipes call to boil the cream/sugar mixture, but I didn’t see why it need boiling and didn’t do this, and it was terrific.) Remove from stovetop and place mixture in refrigerator for about 15 minutes. Remember we are cooling it down so we don’t add hot liquid to the eggs.
  2. Once the first mixture is in the refrigerator, add the 2nd cup of cream to the egg yolks and stir with a whisk until combined. Don’t overstir- you don’t want it to be too frothy. If you are using vanilla extract, add that now.
  3. Combine the two mixtures slowly, with a whisk.
  4. Pour the mixture through a fine mesh strainer to remove any solids. Discard solids. Place the mixture in a pitcher, or something that pours easily.

Bake

We are using a bain marie (water bath) to cook our crème brûlées. Click here for more information about using a bain marie for a great crème brûlée.

  1. Put the ramekins in the pan. Fill each ramekin about half to two-thirds full with the crème brûlée mixture, distributing the mixture evenly among the ramekins.
  2. Slowly add the water to the pan, filling about 2/3 up the side of the crème brûlée ramekins, or about to the level of the mixture inside. Note that you can add the water first, then the ramekins, however, it is tough to gauge how high to fill the pan unless the ramekins are in the pan first. Make sure not to slosh water in the ramekins. If you do get some water on them, just blot them with a paper towel. Using a teakettle with a spout will make it easier.
  3. Bake until the center of the custard is just set, about 35 minutes. A perfectly cooked crème brûlée at this point will look wiggly (but not liquid) in the center. The middle should be loose and moveable. Your crème brûlées will continue to cook once you take them out of the oven. You don’t want them too firm now, or they will be overcooked later.
  4. When done, remove the pan from the oven and take the ramekins out of the pan by using tongs. Place them on a wire rack so they can cool evenly. Don’t leave them in the water bath or they’ll continue to cook.
  5. After they’ve cooled down a bit, place the ramekins in the refrigerator for an hour or even overnight.

Caramelize the Sugar Top

Up to an hour or two prior to serving, remove ramekins from the refrigerator. If there is moisture on the top of the custard, blot it with a paper towel.

I tried this recipe with four types of sugars, including granulated white sugar, brown sugar, demerara sugar and turbinado sugar. I far preferred white granulated sugar. Click here for the reviews of each type of sugar.

Sprinkle the top of each crème brûlée with the granulated sugar. Use about 1 teaspoon of sugar per ramekin. Shake the ramekin gently to distribute the sugar. Turn the ramekin over and dump out excess sugar if necessary.

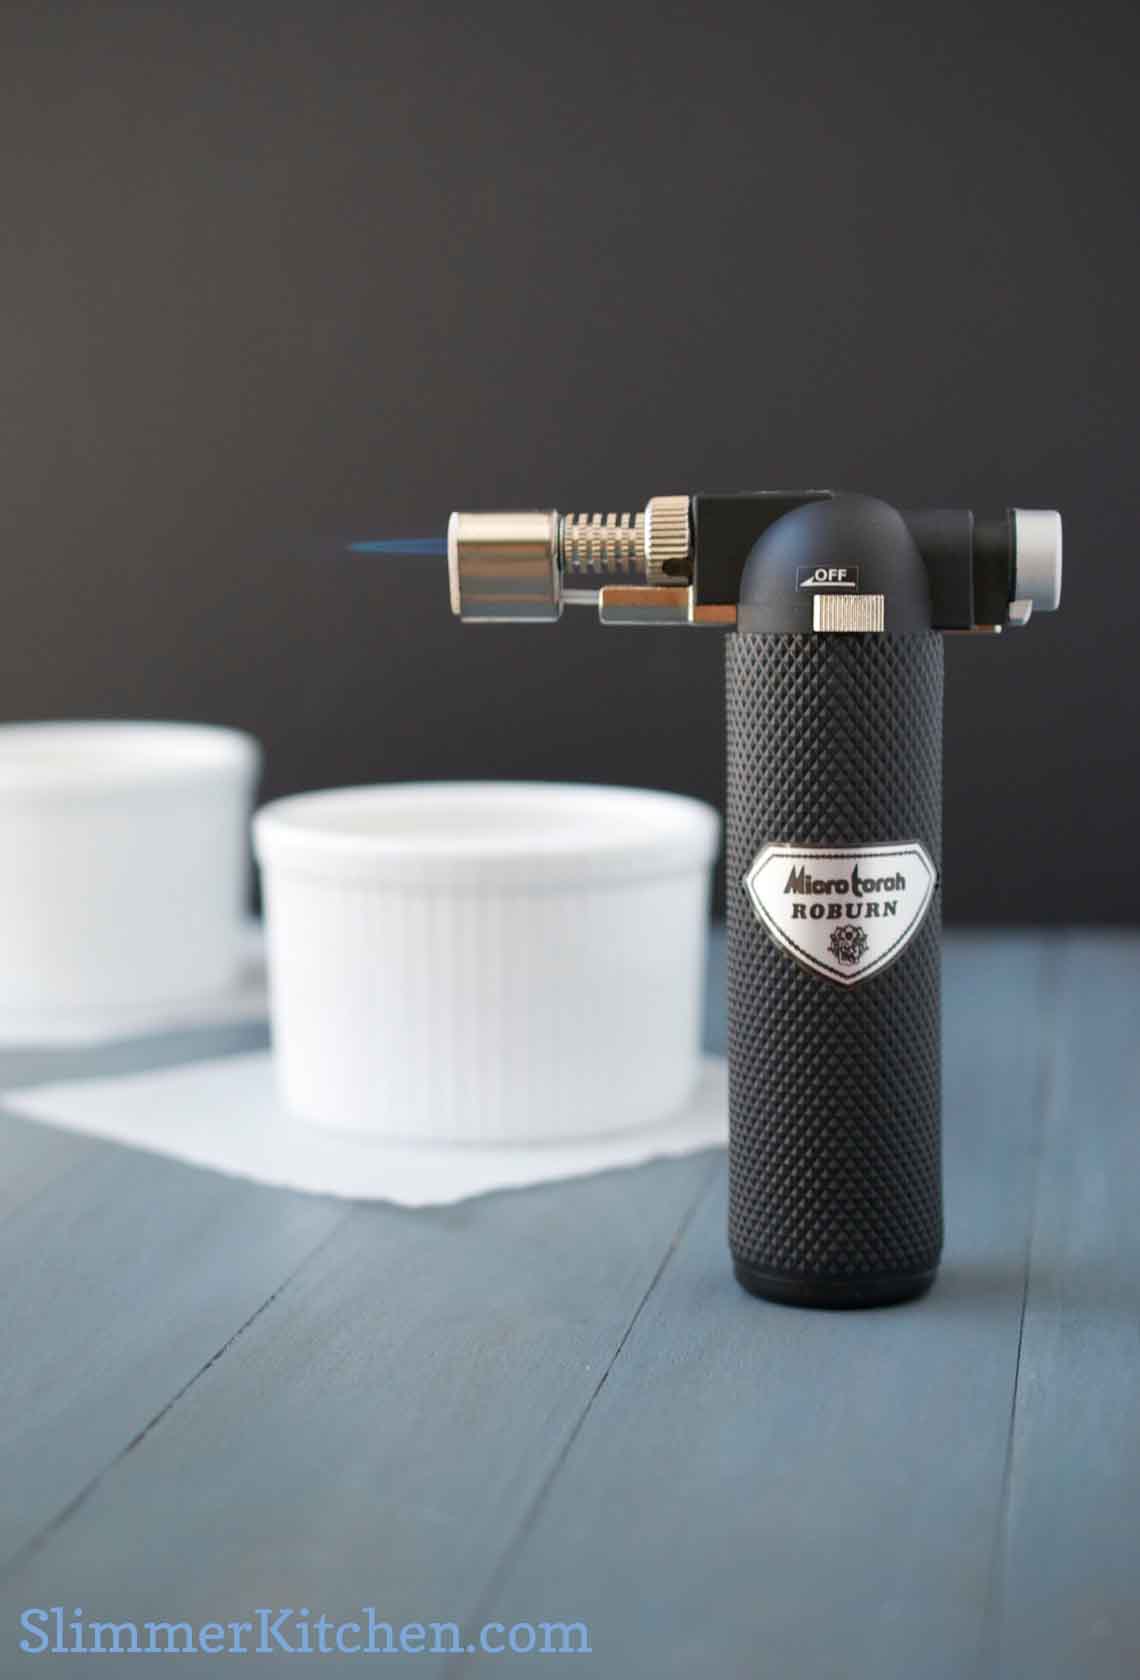
I tried several approaches for the crust, and the best way to get a nice crackly caramelized sugar crust is to use a kitchen torch. Use your kitchen torch to evenly heat the top. Use the tip of the blue flame, and move the torch evenly about. At first the sugar will melt and bubble, then it will brown. A few small burned spots are fine.

To really make the crust terrific, wait until the first sugared layer cools then add a second layer.

Click here for the full list of 50 variations. 

Like this post? Great!

  • Follow this blog by subscribing (just enter your email address in the sidebar on the right – I post about once a week)
  • Share! Share it on Facebook or Pin it on Pinterest with the buttons below.
  • Comment and let me know what you think!


Baked Fish and Vegetables Aegean Style

Baked Fish and Vegetables Aegean Style is a terrific recipe from Maria and Eleni’s Taverna on Cefalonia Island, located in the Greek Isles.  The taverna, also called the Two Sisters’ Taverna, is owned by the Mom and Auntie of Harry Papas, the author of the Slimmer book.

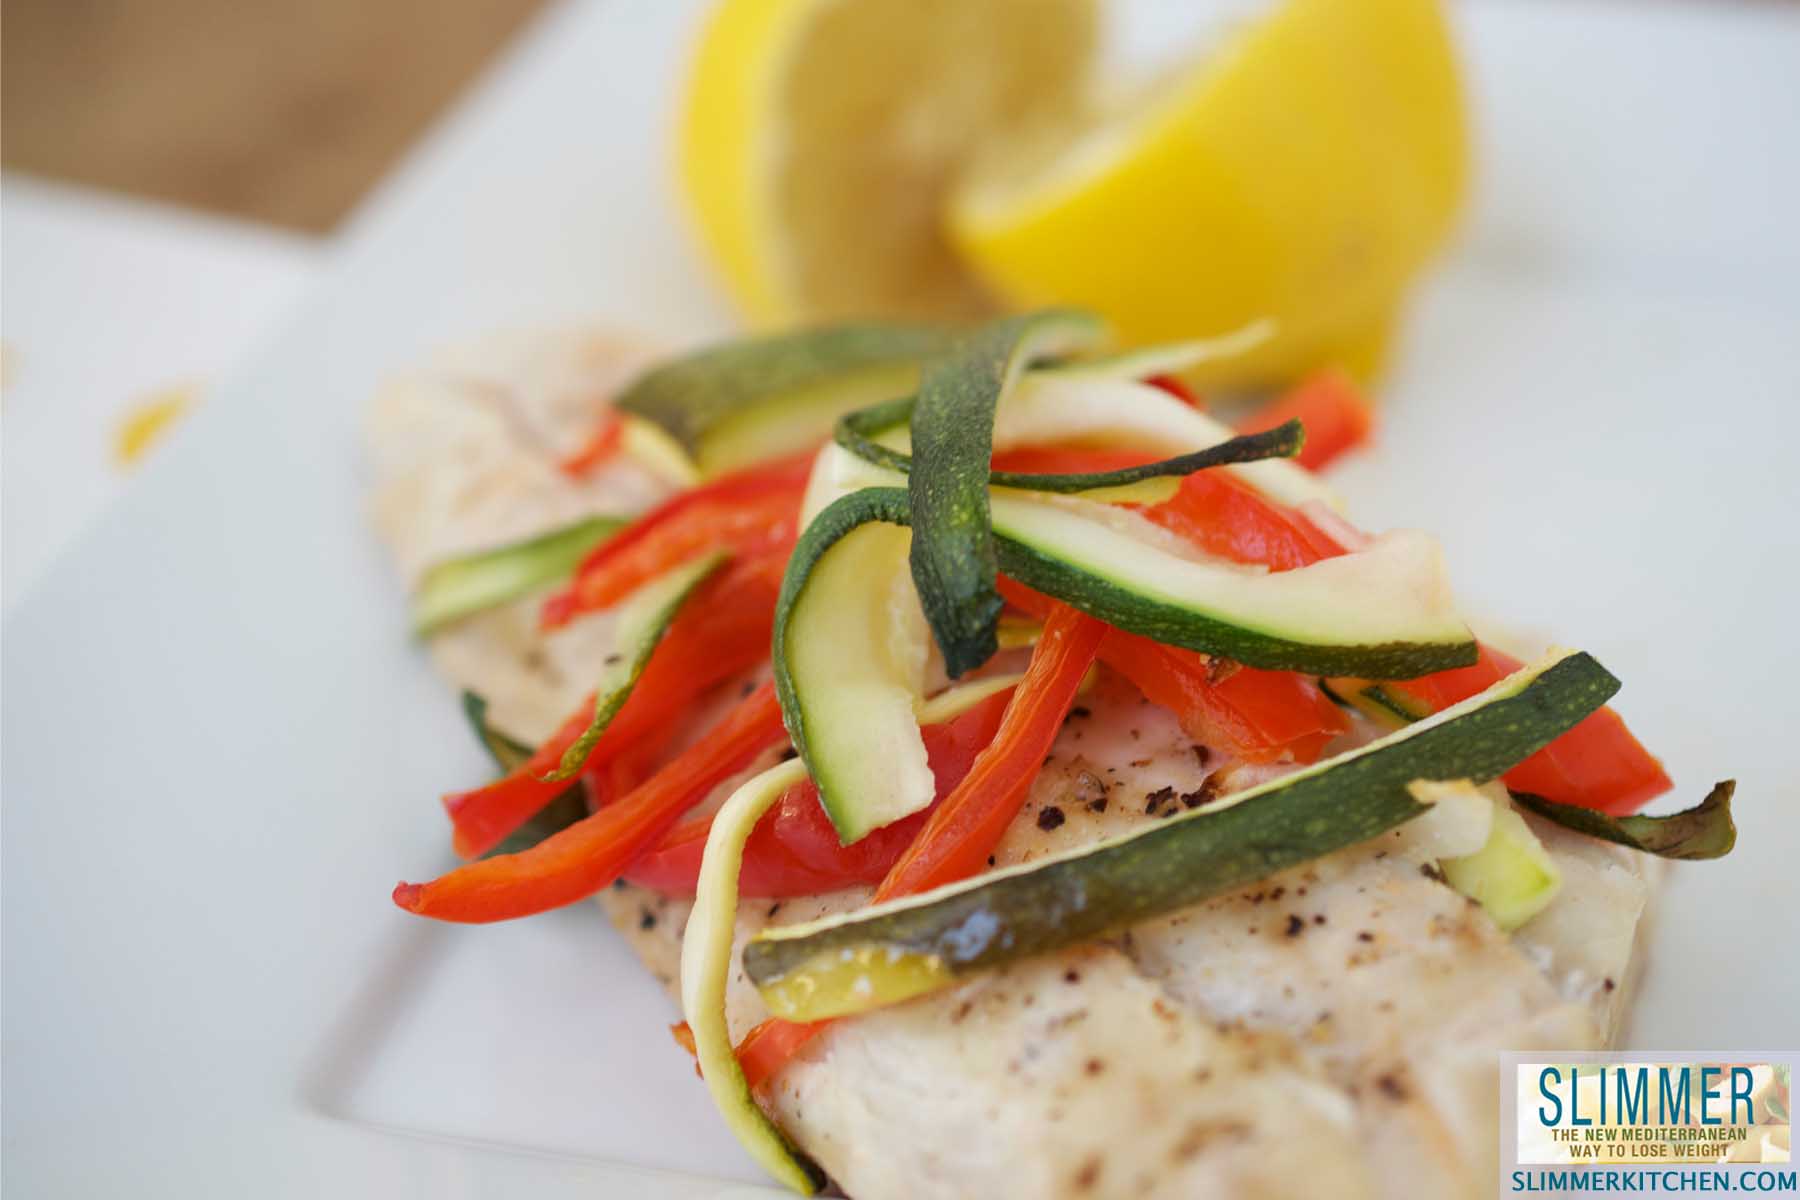
The baked fish is an easy and healthy weekday supper and everyone loved it!  Preparation is also fast – it only takes about 10 minutes to chop up the veggies, salt and pepper the fish and put it all in the oven together.

In fact, this is the fourth time (at least!) that I have made it in the past month. I’ve used several different kinds of white fish as my baked fish, including snapper, grouper and tilapia. Note that if your fish is a little thinner, like tilapia, just reduce the baking time a bit.

This is also my second post on Baked Fish and Vegetables Aegean Style. I only had about three followers when I originally posted the Baked Fish (and that number included my mom and dad), so most of you probably didn’t see it the first time around. But my food photography has improved a lot since my original post (and of course has a ways to go!) so I’m updating the site with this post as well.

Here’s the recipe – easy!

Baked Fish and Vegetables Aegean Style (recipe from Slimmer: The New Mediterranean Way to Lose Weight by Harry Papas, recipe used with permission, it has lots of terrific recipes –  to buy the book click here)
Serves 2

2 teaspoons olive oil
8 ounces red snapper (or similar white fish like grouper or tilapia)
1 medium garlic clove, roughly chopped
Salt and pepper to taste
1/2 medium onion, thinly sliced
1/2 red bell pepper, seeded and thinly sliced
1/2 medium zucchini, cut into 1/2 inch circles or julienned into strips
3 baby carrots, thinly sliced
2 plum tomatoes, roughly chopped
1/4 cup dry white wine
Finely chopped fresh parsley

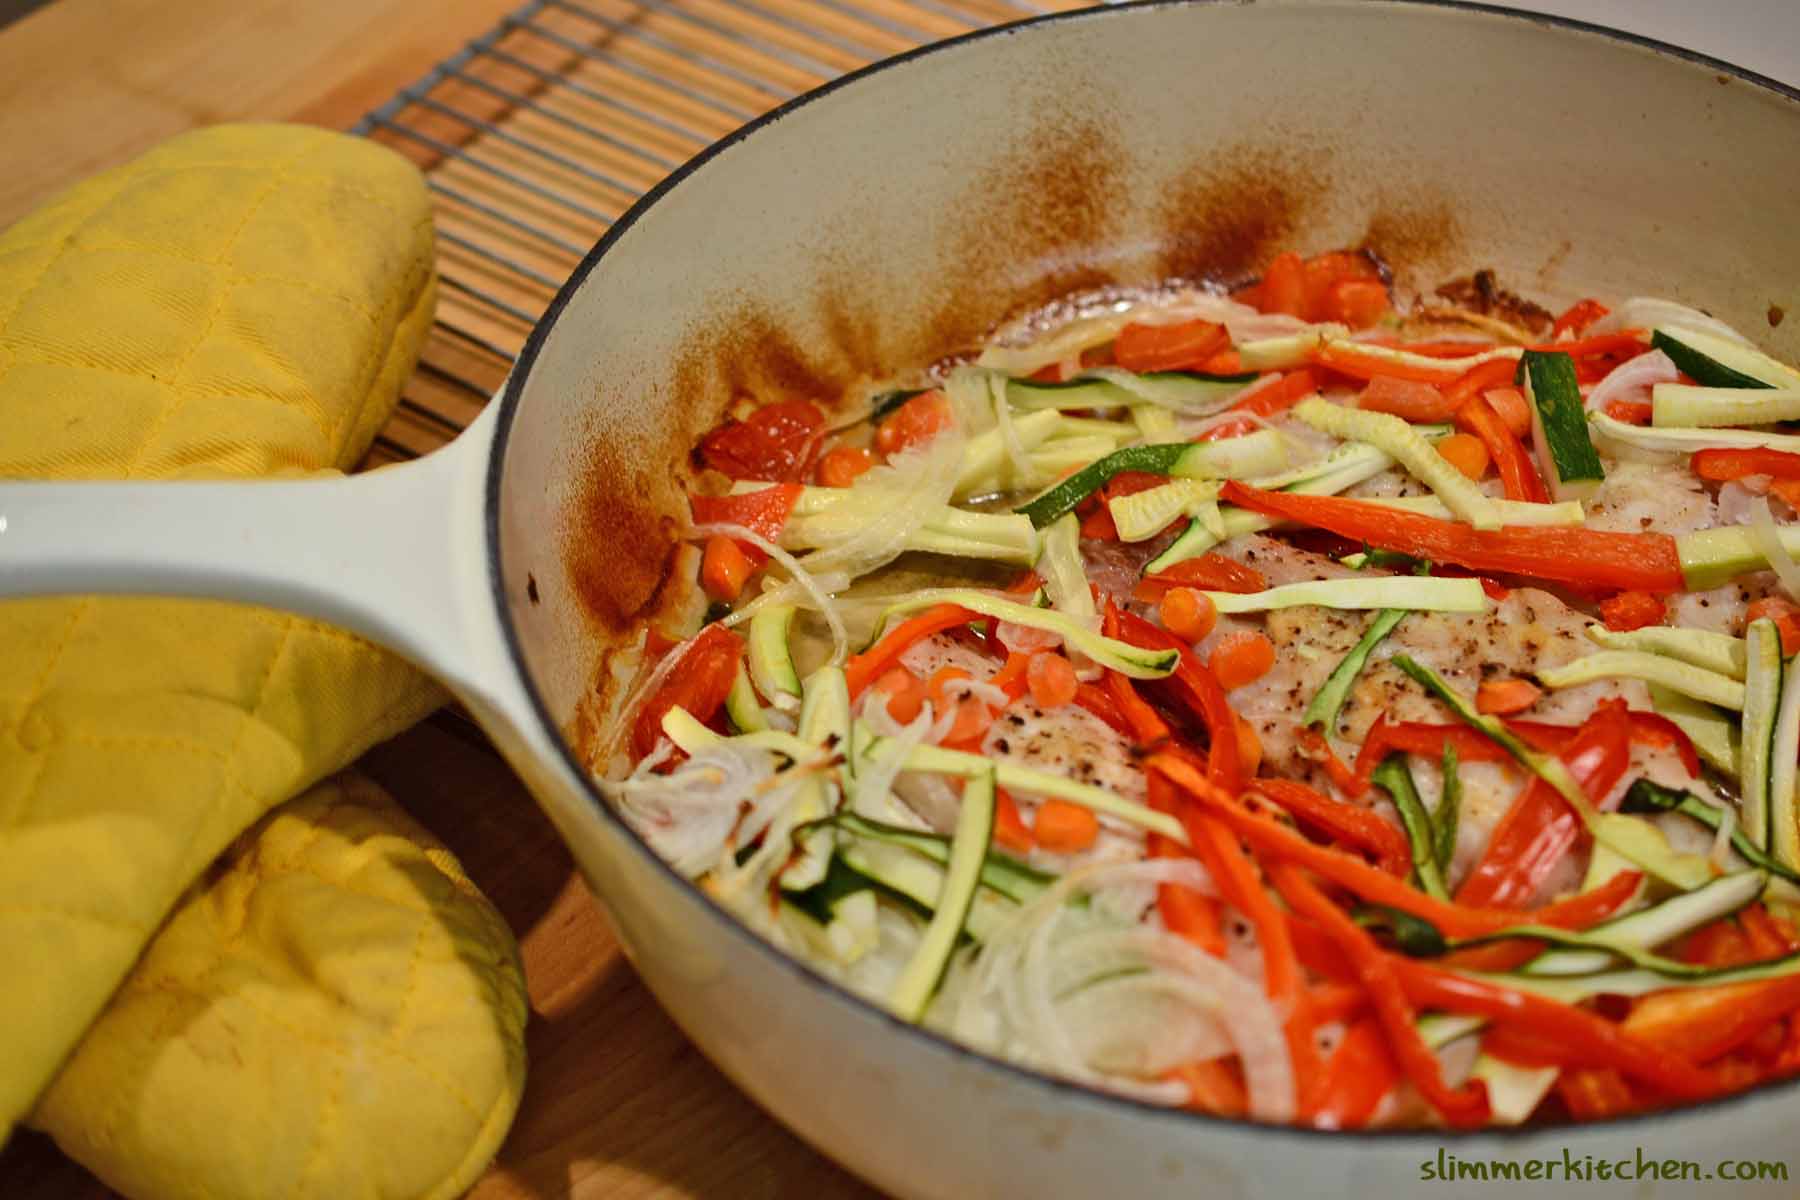
1. Preheat oven to 350 degrees F. Drizzle the olive oil in the bottom of a medium-size casserole with a lid. Place the fish in a single layer on the bottom, sprinkle the garlic, salt, and pepper over, and place the onion, pepper, zucchini, carrots, and tomatoes evenly over and around.  Sprinkle again with salt and pepper, and drizzle the white wine over all.

2. Cover and bake in the oven, occasionally stirring the vegetables to cook evenly, being careful not to break apart the fish, until the vegetables are tender and the fish is cooked through, about 1 hour.

3. Before serving sprinkle with the chopped parsley.

Makes 2 servings. Easily doubles. 

Let me know what you think!

Food Photography Sources for Baked Fish and Vegetables Aegean Style:
Plate: Bed Bath and Beyond Everyday White
Fork: Tiffany & Co | Hamilton Pattern
Pan: Le Creuset Signature Deep Dish Saute Pan
Fabric: Premier Prints Suzani Corn Yellow Ley
(note these are not affiliate links) 

Watermelon, Arugula and Feta Summer Salad

Watermelon, Arugula & Feta Summer Salad with Balsamic Glaze

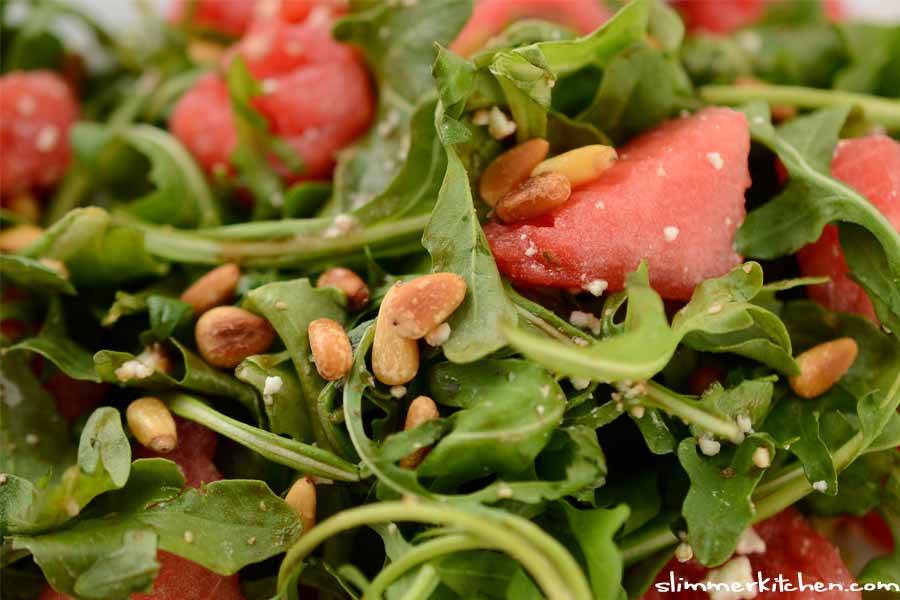
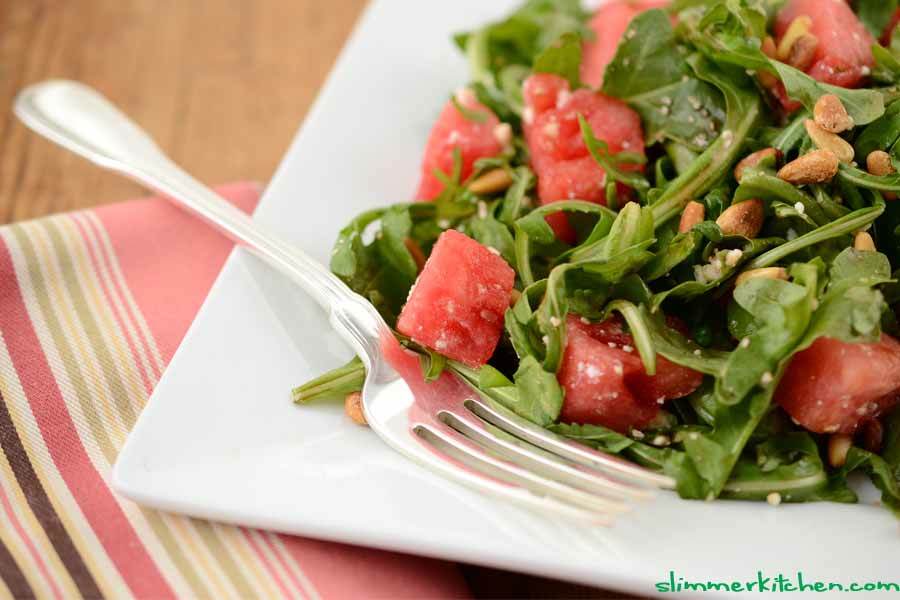
This wonderful summer salad is a perfect combination of watermelon, arugula, feta, and toasted pine nuts.  Top it with a splash of balsamic glaze, and it’s a terrific accompaniment for dinner from the grill, or perfect all by itself as a simple summer lunch.

The recipe is courtesy of my friend Cathy, who raved about this salad and thought it would be great as part of a mediterranean diet.  She was right!  Everything in it is important to a healthy mediterranean diet.  Red fruit (like watermelon) is packed with antioxidants (see USDA article here).  Feta cheese, as low-fat dairy, increases metabolism (see article here about impact of high protein/high dairy diet on body composition and weight loss). Pine nuts provide omega-6 fatty acids. And balsamic vinegar helps manage blood glucose levels (see article here).

To date, I’ve only been blogging about recipes from the Slimmer book, but this summer salad so nicely incorporates key elements of the Slimmer plan I thought I’d add it to the list as my first non-Slimmer book recipe.

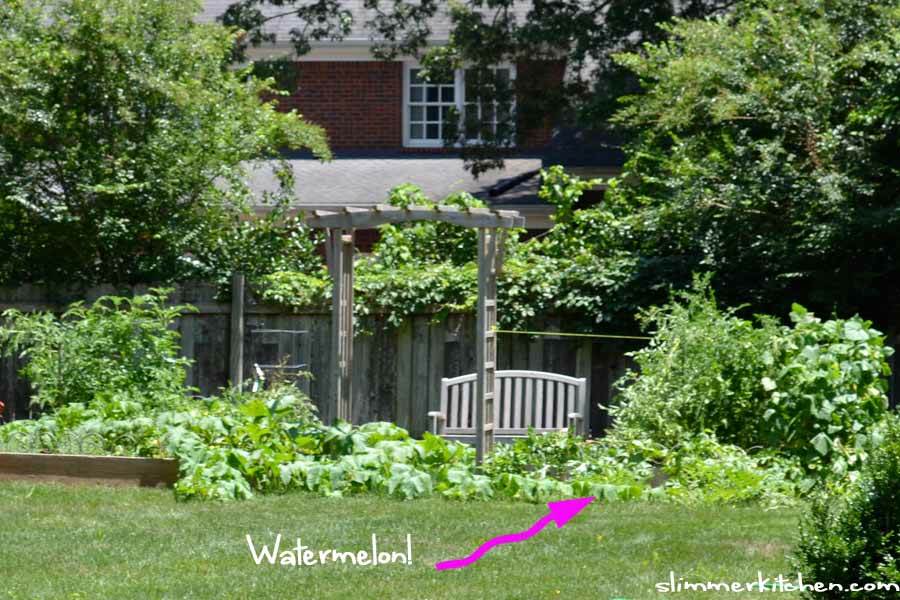
It starts with a great watermelon, and July is when to find them. We’ve grown watermelon in our garden for two years now.  The first year we grew them, I had no idea when they were ripe.  Of course, as my grandmother would tell me, you are supposed to thump them and listen to the sound, but I have no idea which ‘thump’ sound means ‘pick it now, or it will wither on the vine and your kids will be very disappointed!’ and which ‘thump’ sound means to leave it in the garden for a few more weeks.  A different approach, and easier for me to figure out, is to mark your calendar – watermelon is ready to pick 100 days after planting. Or just head to the grocery store.

The recipe also calls for toasted pine nuts.  You can use untoasted nuts, but toasting imparts such a nice flavor.  I put mine in a 350 degree oven for about 5 minutes.  As soon as you can smell them, they are done!

Watermelon, Arugula and Feta Summer Salad (serves 2)

1 cup watermelon, cut into chunks
2 cups Arugula (rocket lettuce)
2 Tablespoons toasted pine nuts
2 Tablespoons feta crumbles
1 to 2 teaspoons Balsamic Glaze (note: a little balsamic glaze goes a long way. Also, Balsamic Glaze is basically balsamic vinegar with some sugar.  You can buy it at the store or you can make your own by cooking down 1/2 cup balsamic vinegar mixed with a teaspoon (only 16 calories) of sugar until it looks rich and thick)

Mix ingredients – that’s it!

Calories per serving: 103 (note: if you’re looking to decrease calories, leave out the pine nuts and calories per serving goes to 56)

This recipe serves two, and you can play with the amounts a bit if you favor any of the ingredients more than the others.

Let me know what you think in the comments section!

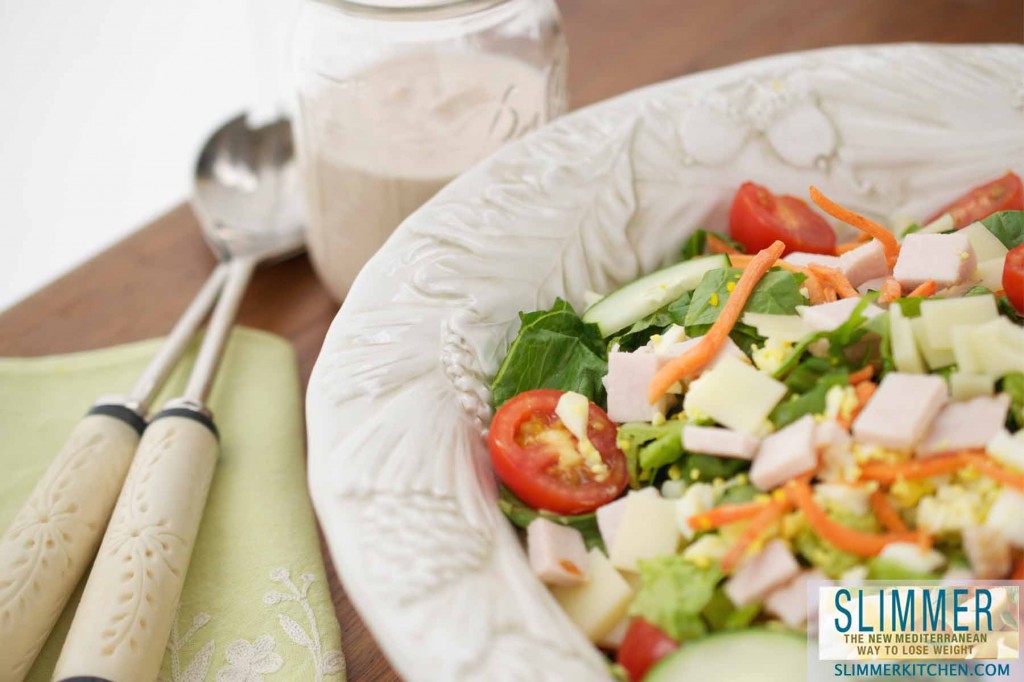
Slimmer Chef’s Salad (or is it Chef Salad?)

Slimmer Chef's Salad - from "Slimmer - The New Mediterranean Way to Lose Weight"

Is this a “Chef’s Salad” or a “Chef Salad”?  Ah, that pesky apostrophe. I’ve always said “Chef’s Salad” and both names are in common use.  But does that make it right?  A comma indicates possession, but that would imply you are eating the Chef’s own salad for lunch which is (hopefully) not the case here.  So is it then a “Chef Salad”?  Well, I can think of a few examples where an apostrophe indicates neither possession nor contraction, more of an ownership of the concept.  Like Rubik’s Cube, Darwin’s Finches or Murphy’s Law. And how about the Cat’s Meow?  If any English majors would like to weigh in, please let me know what you think.

Either way, when is the last time you made a Chef’s Salad?  The salad’s origin is unknown but is mostly associated with chef Louis Diat from the Ritz Carlton in New York in the 40’s (umm, yes I looked that up on Wikipedia).  The Chef’s Salad was very popular in the 80’s, went away for a bit, and now it is back.  Last week while on vacation I ordered one at the legendary Ta-boo Bistro on Worth Avenue in Palm Beach.  Except it had a trendier name -the “Chopped Chef”.  Maybe Ta-Boo didn’t want to deal with the apostrophe either.  (But “Chopped Chef”? Really? That name has its own issues…)

Anyway, we’ll go with “Chef’s Salad”.  I made one yesterday and it was delicious. Ingredients below are from the Slimmer Book, but you can certainly experiment and add your own, from what’s in the garden today or whatever happens to be in your fridge this afternoon.

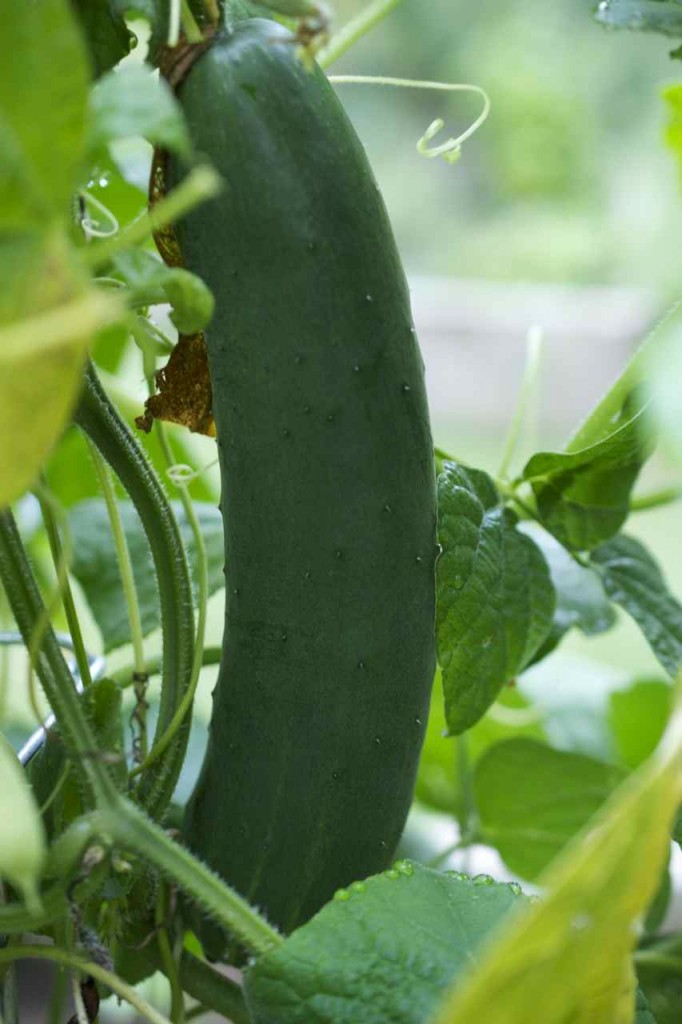
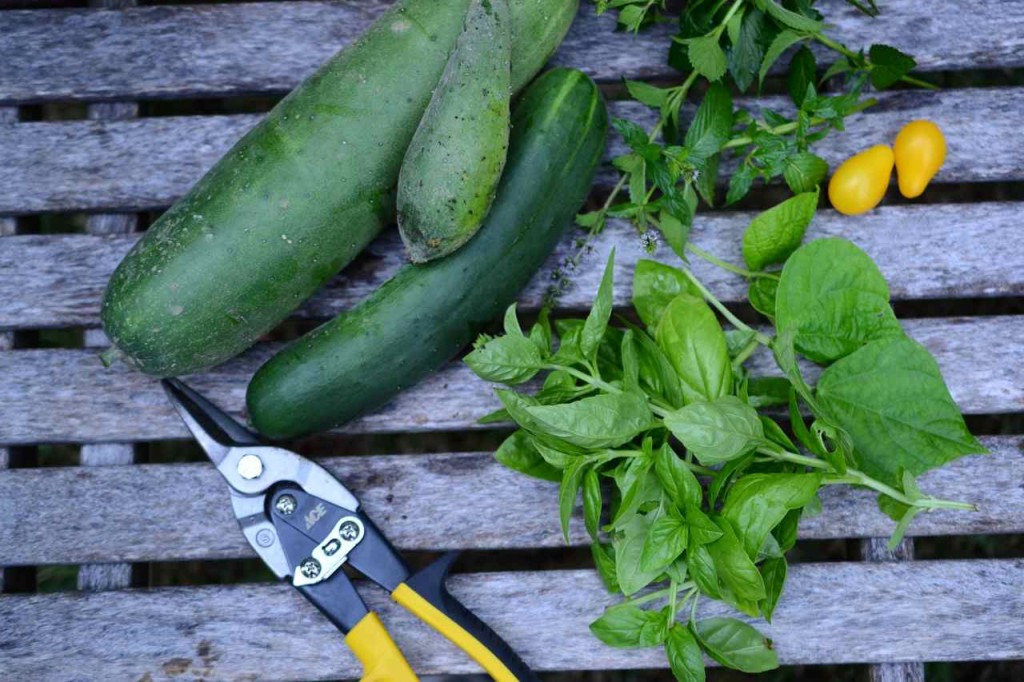
I started in the garden.  Lots of cucumbers.

Slimmer Chef's Salad - from "Slimmer - The New Mediterranean Way to Lose Weight"

Collected some basil and runner bean leaves for Chester the guinea pig.

Slimmer Chef's Salad - from "Slimmer - The New Mediterranean Way to Lose Weight"

Boomer the Australian Shepherd made sure that rabbits and squirrels did not make off with the bounty.

Slimmer Chef's Salad - from "Slimmer - The New Mediterranean Way to Lose Weight"

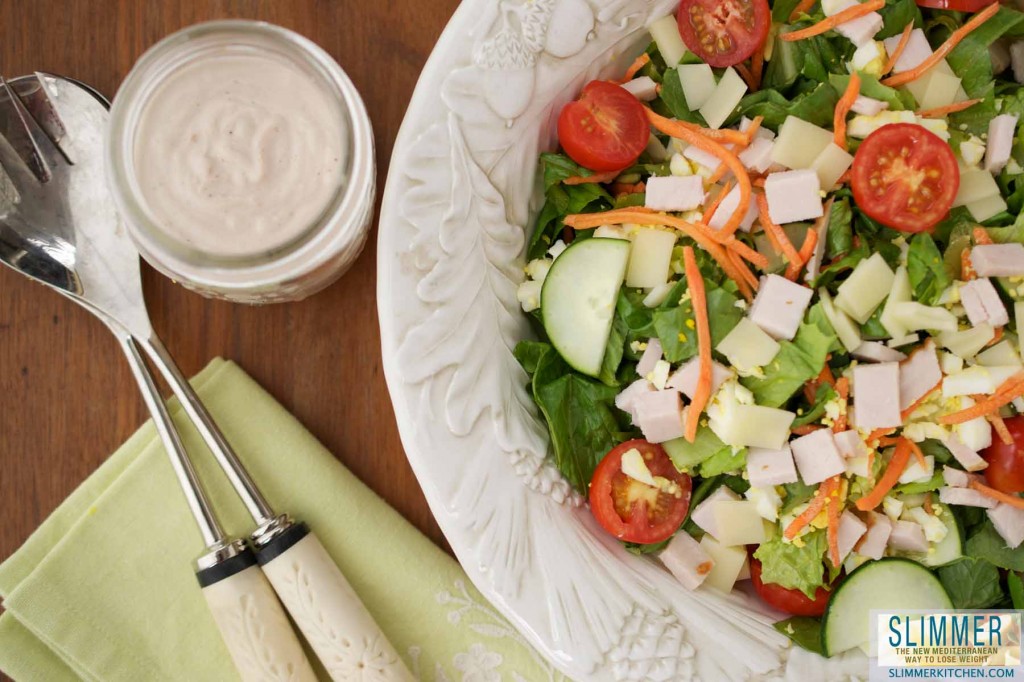
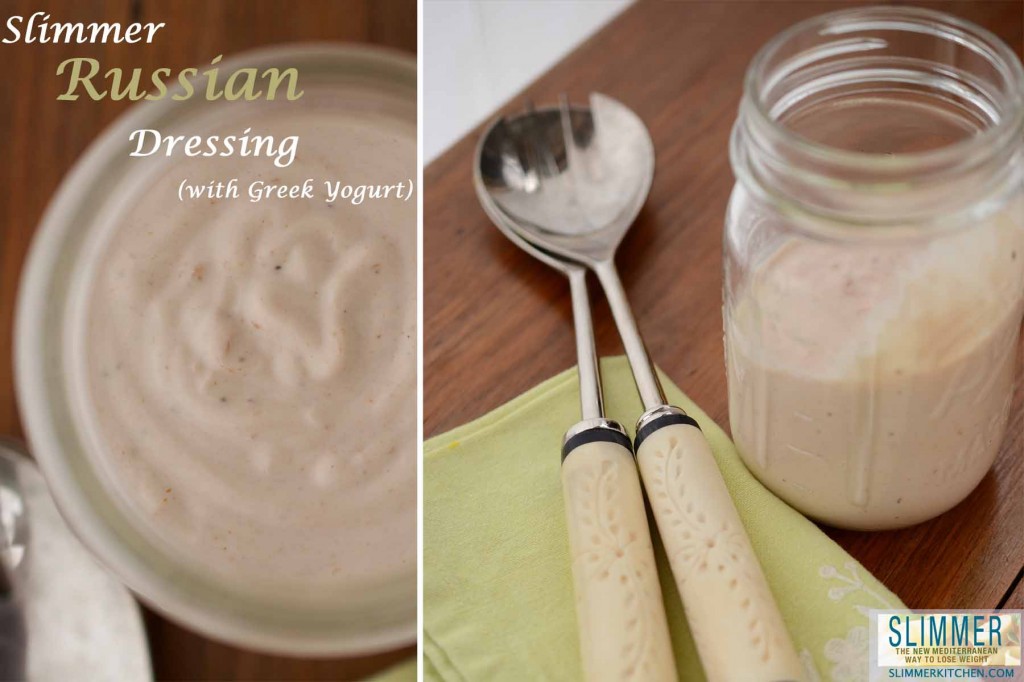
On to the recipes… by the way, I think the best part was the dressing.  The dressing recipe is for a much lighter and healthier Russian dressing (which is standard Chef’s Salad fare) made with Greek Yogurt (I love Chobani!) and Cocktail sauce.  Easy and fabulous.  I made extra and had some mixed in with left over hard-boiled eggs for a snack later in the day.

Slimmer Chef's Salad - from "Slimmer - The New Mediterranean Way to Lose Weight"

Slimmer Chef’s Salad (recipe from Slimmer: The New Mediterranean Way to Lose Weight by Harry Papas, recipe used with permission, to buy the book click here or visit website at www.theslimmerbook.com)  Makes 1 serving. NOTE THAT FOR THE PICTURES, I made TWO servings of the salad (yes it’s huge) and FOUR servings of the dressing (I was showing it in a cute Mason jar rather than on the salad so needed a few servings, and I’m glad I made extra because it was wonderful).

For the Salad (1 serving):
2 cups bite-size Romaine lettuce leaves
1/2 medium tomato, sliced (I used cherry tomatoes from our garden instead, maybe about 5 per serving)
1/2 cup sliced cucumber
1/4 cup carrot, shredded
1 hard-boiled egg, sliced (note eggs are MUCH easier to peel if they are five + days old)
1 ounce sliced turkey breast
1 ounce sliced reduced fat cheese, such as Swiss or Munster (I used one slice per serving)

Toss together the lettuce, tomato, cucumber, and carrot, and place in a serving bowl.  Arrange the egg over the top.  If you are using sliced luncheon meat for the turkey and cheese, then place the turkey on top of the cheese slice, roll into a “cigar” and cut spiral slices, adding to the top.  For the picture I asked my deli guy to cut one thick slice of turkey – about a 1/2 inch, then I chopped it into squared pieces.

Cover and keep refrigerated until ready to eat.  Add dressing.

Slimmer Chef's Salad - from "Slimmer - The New Mediterranean Way to Lose Weight"

For the Dressing (1 serving):

2 Tablespoons nonfat plain Greek yogurt
2 teaspoons low-fat mayonnaise
1 teaspoon cocktail sauce
A dash of balsamic vinegar or lemon juice (I used balsamic)
Salt and pepper to taste

Combine ingredients in a small bowl or container.  Keep refrigerated until ready to serve.

You can also get creative with this dressing without changing the calorie count.  You might add paprika, Worcestershire sauce, prepared mustard, or tabasco.  Or mix in some relish or chopped pickles to make it a Thousand Island.

If you’ve been reading along you know I love Greek yogurt.  It is great in this dressing, and the end result is both healthier and tastes much better than the standard combination of ketchup and mayonnaise!

Enjoy, and let me know what you think!
Fruit Salad with Yogurt Crunch (parfait style!)

Today I made the Fruit Salad with Yogurt Crunch (parfait style!).  The ingredients were really lovely so I put them in a parfait glass instead of combining them.  I also made three parfaits at once and saved the other two for later, although my 8-year old daughter polished one off as soon as she saw it. According to the Slimmer book, author Harry Papas sometimes serves this as a light dessert at Maria and Eleni’s Taverna.  I see why – apricots and apples are delicious together, especially with the creamy Greek yogurt, crunchy granola and hint of lemon and cinnamon. And when is the last time you had an apricot? I can’t remember – I’ve had them dried in salads but not fresh. I will definitely buy more!

Here’s the recipe…

Fruit Salad with Yogurt Crunch (recipe from Slimmer: The New Mediterranean Way to Lose Weight by Harry Papas, recipe used with permission, book released in June 2012, to buy the book click here or visit website at www.theslimmerbook.com)  Makes 1 serving.

For the Fruit Salad:
1/2 medium apple, cored and diced
1 small apricot, pitted and diced
1 teaspoon lemon juice
A dash of ground cinnamon
1 Tablespoon dried cranberries

For the Yogurt Crunch:
1/2 cup nonfat or low-fat Greek yogurt
1 Tablespoon granola
1 Tablespoon chopped walnuts

1. Combine the fruit salad ingredients in an airtight container and keep refrigerated until ready to eat. Also combine the yogurt ingredients in a separate airtight container until ready to eat.

2. To serve, combine both mixtures in a small dish and stir together. (Or serve parfait style as in the picture above)

Serves 1.

Enjoy!!

Chicken Stew with Garden Peas

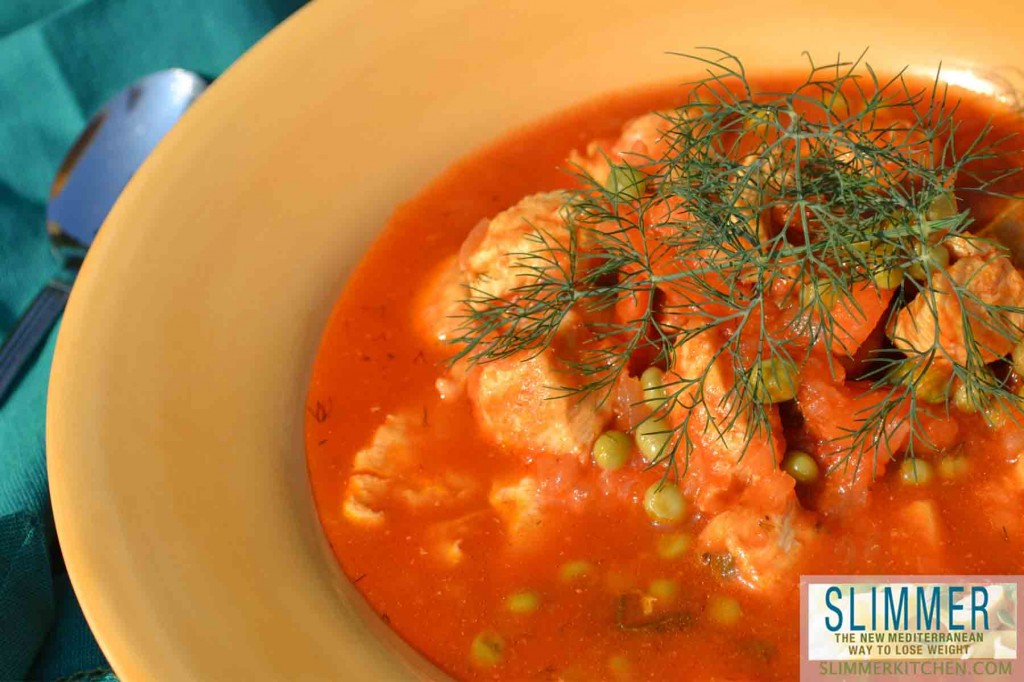
This Chicken Stew recipe has LOTS of flavor and healthy ingredients.  It tastes even better the next day.

Chicken Stew with Garden Peas (recipe from Slimmer: The New Mediterranean Way to Lose Weight by Harry Papas, recipe used with permission, book released in June 2012, to buy the book click here or visit website at www.theslimmerbook.com)  Makes 2 servings.

1 Tablespoon olive oil, plus 1 additional teaspoon set aside
1 medium onion, finely diced (I only used 1 onion even when I doubled recipe)
2 scallions, trimmed and diced
8 oz boneless, skinless chicken, cut into 1-inch cubes
Salt and pepper to taste
2 cubes frozen garden peas
1/2 small carrot, thinly sliced (I used a quarter-cup or so of pre-shredded carrot)
One 8 oz can tomato sauce
1 cup low-sodium chicken broth or water
2 teaspoons chopped fresh dill

1.  Heat the tablespoon of oil in a nonstick pot over medium-high heat. Add the onion, scallions, and chicken cubes, season with salt and pepper, and cook, stirring often, until the onion is softened and the chicken is no longer pink, about 4 minutes.

2. Stir in the peas and carrot and cook a further minute.  Pour in the tomato sauce and broth, stir well to combine, and bring to a simmer.  Reduce the heat to low and cook until the vegetables are tender and the stew is thickened, about 15 minutes.

3. Remove from the heat and stir in the remaining olive oil and dill.

Makes 2 servings.

Pasta Salad Primavera (with Greek Yogurt)


This lighter version of pasta salad uses Greek yogurt and lots of fresh veggies.  It’s terrific for summer, easy to make and very satisfying.  It is also great as a crowd pleaser or lunch for one, but either way, I’d make extra!

Pasta Salad Primavera (recipe from Slimmer: The New Mediterranean Way to Lose Weight by Harry Papas, recipe used with permission, book released in June 2012, to buy the book click here or visit website at www.theslimmerbook.com)  Makes 1 serving.

1 1/2 cups cooked small pasta shells
1 Tablespoon finely chopped onion
2 Tablespoons diced green bell pepper
2 Tablespoons shredded carrot
1/2 medium tomato, seeded and chopped
1/2 small cucumber, diced
1/2 cup cooked broccoli florets
1 ounce cooked baby shrimp (may substitute diced chicken breast, diced turkey, or flaked tuna)

For the dressing:
2 Tablespoons nonfat plain Greek yogurt
2 teaspoons low-fat mayonnaise
1 teaspoon cocktail sauce
1 teaspoon prepared mustard
Salt and pepper to taste

1.  Place all the salad ingredients in a bowl and toss to combine.

2.  Make the dressing by stirring together the ingredients in a small bowl.  Pour the dressing over the salad.  Stir gently to coat all the ingredients, taste for additional seasoning, and serve or refrigerate until ready to eat.

Makes 1 serving. Let me know how you enjoyed the pasta salad primavera (with Greek Yogurt) in the comments section…